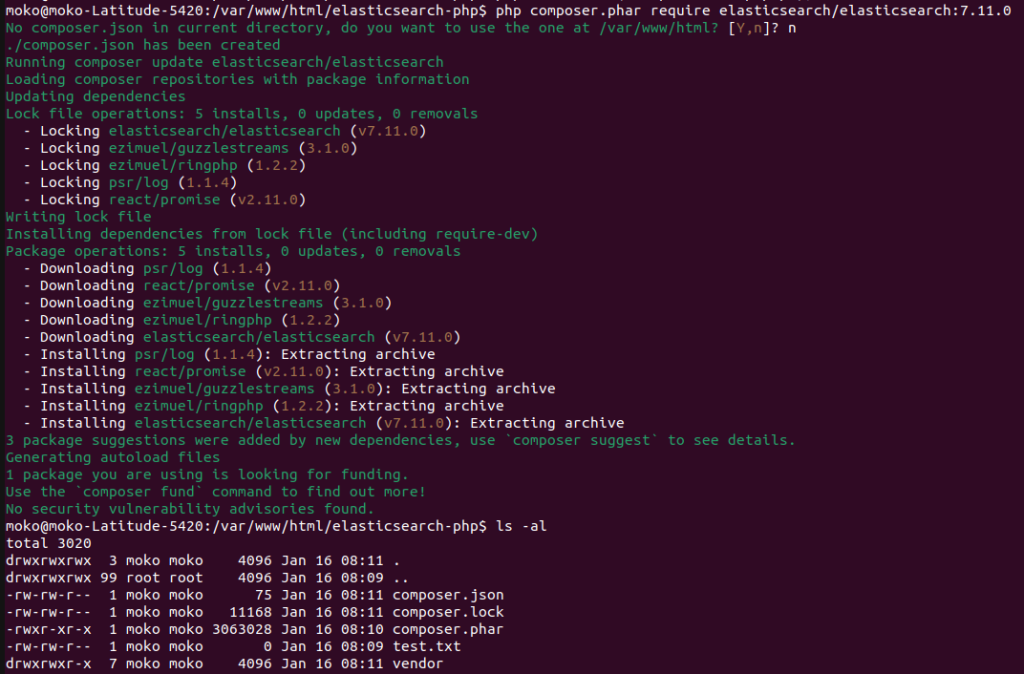
After running above command, it creates a file named composer.phar. In the next step we will use composer.phar to install elasticsearch-php client.
Install elasticsearch-php client v7.11.0
We will use elasticsearch-php client v7.11.0 (not latest version), because our elasticsearch is v7.10.0. I am worried if using latest version of elasticsearch-php client, it will not work (backward compatibility) for elasticsearch v7.10.0.
In order to install elasticsearch-php client v7.11.0, the command is as follows:
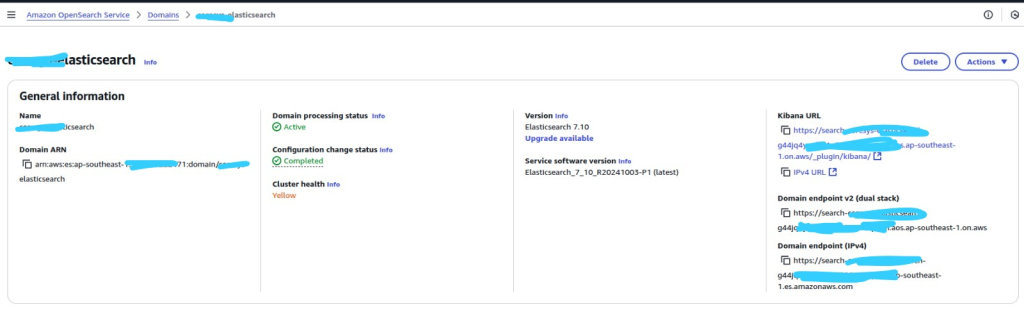
Change setHosts value with your elasticsearch domain endpoint IPv4 (See above image)
Change setBasicAuthentication values with your elasticsearch username, and password (this username, password you got from initial elasticsearch / opensearch service installation)
Run:
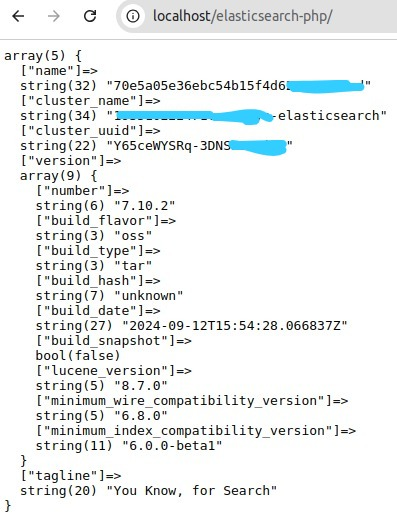
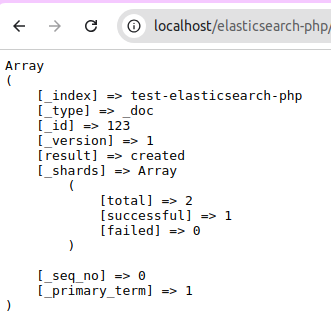
http://localhost/elasticsearch-php/
If the connection is success, then the output is like this:
Test create index
By this time, we have successfully connected to elasticsearch v7.10.0.
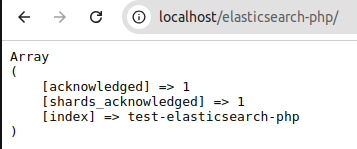
Now we are going to test creating an simple index.
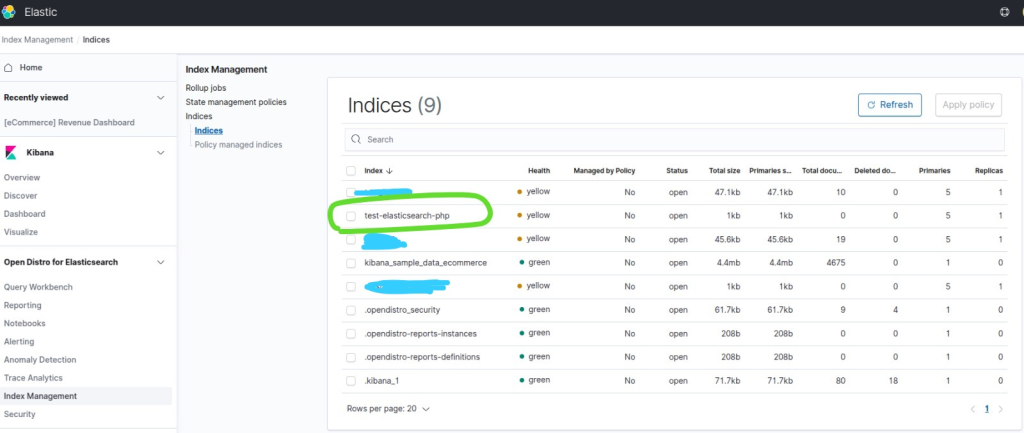
Check on kibana dashboard (provided by Opensearch service), go to Open Distro for Elasticsearch > Index Management, you will see test-elasticsearch-php is on there.
Great!, we have successfully created an index. Now let’s insert data in the next step.